Combined task

Research

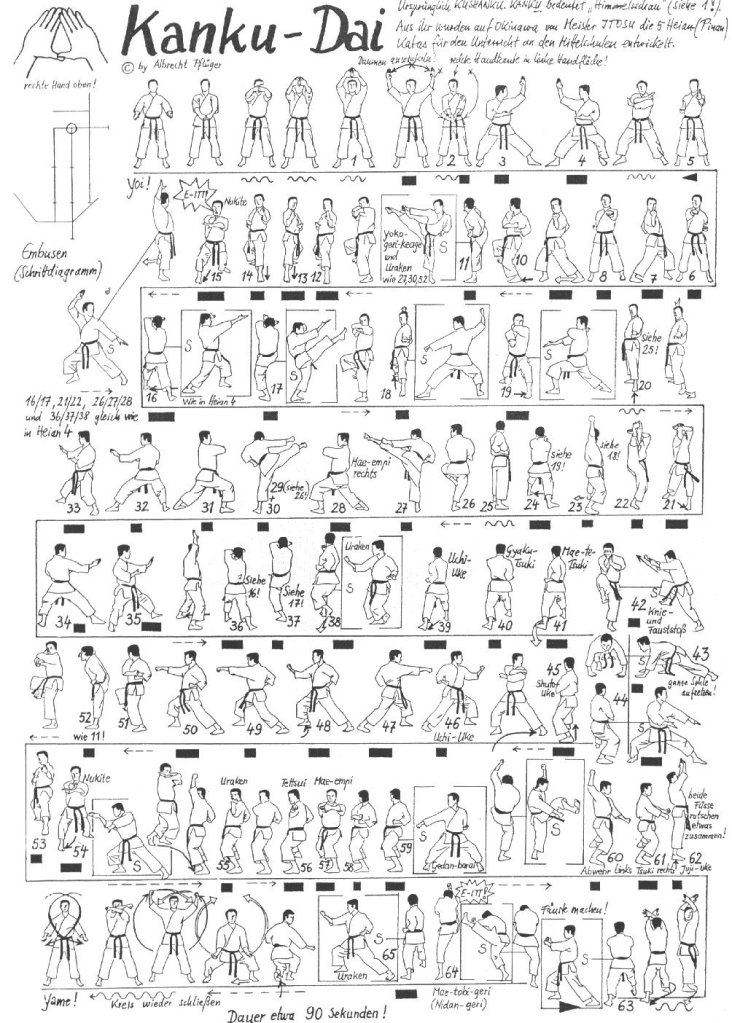
I wasn’t sure how to go about researching this task so I looked up how others who had animated a dance number had gone about it in their planning. I found a few pose to pose storyboards, that took positioning of feet and lines of action.

Image result for animation dance poses
https://posetopose.wordpress.com/2010/04/20/workflow-methodologies-dance-part-i/

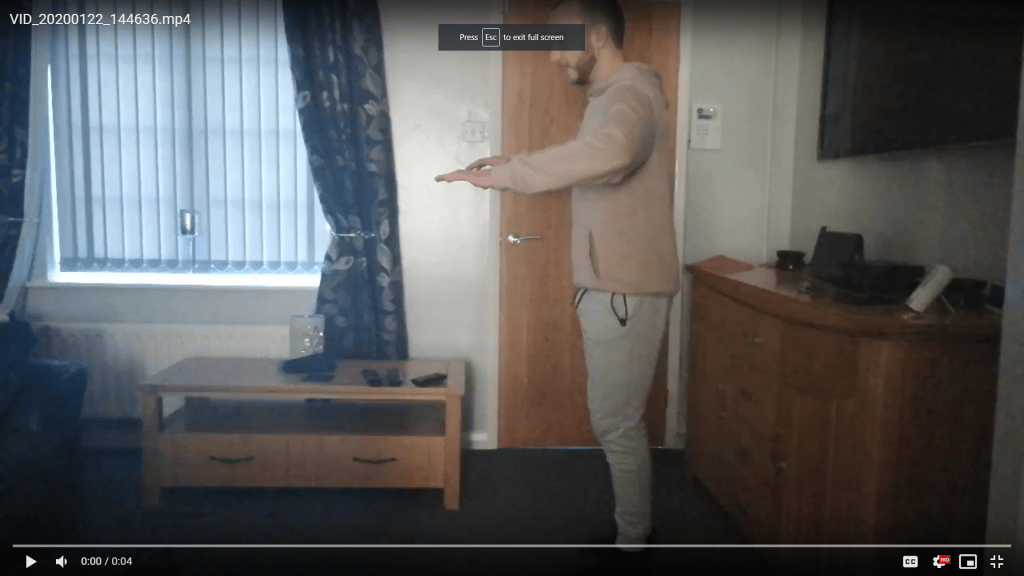
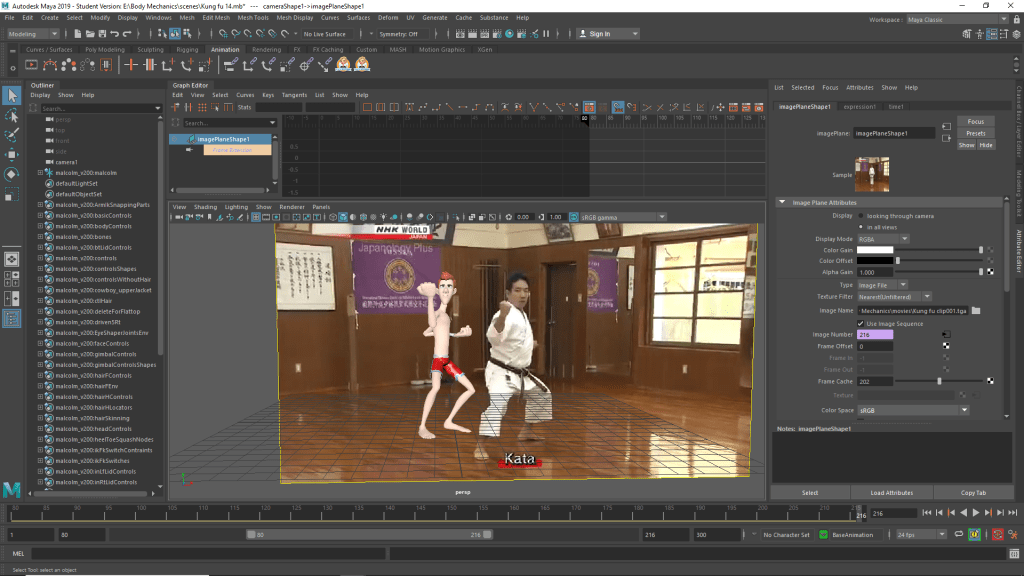
This was important to understand when I collected my reference footage as there was a great deal of movement and steps the character took.

I also learnt a lot from the acting classes that my class and I took and learnt a lot about body language in general. I tried to make it so that the body moves in unison together.

Planning

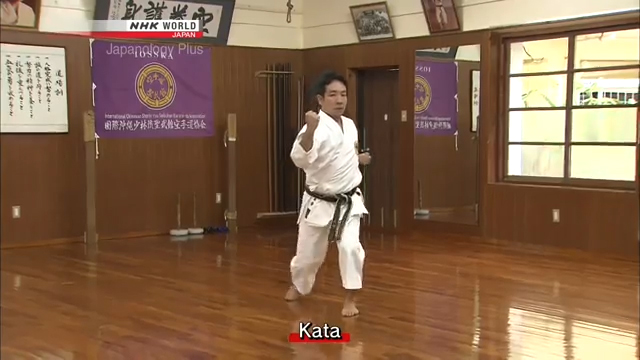
This was by far the most difficult of the animation I had to produce for this module. I had chosen a dance small snippet of a fan made music video for Macklemore’s dance off. I picked it due to fun and interesting moves the characters did, there were a great deal of dance moves to pick from in the sequence. I decided to pick on one of the beginning sequences as it seemed fairly simple but also a chance to see how much I had learnt.
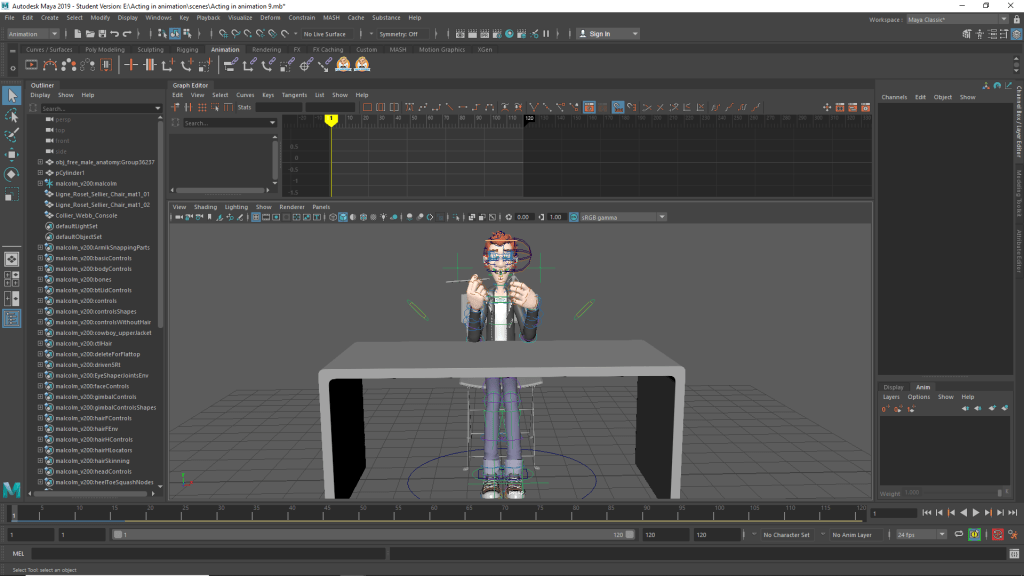
Development work

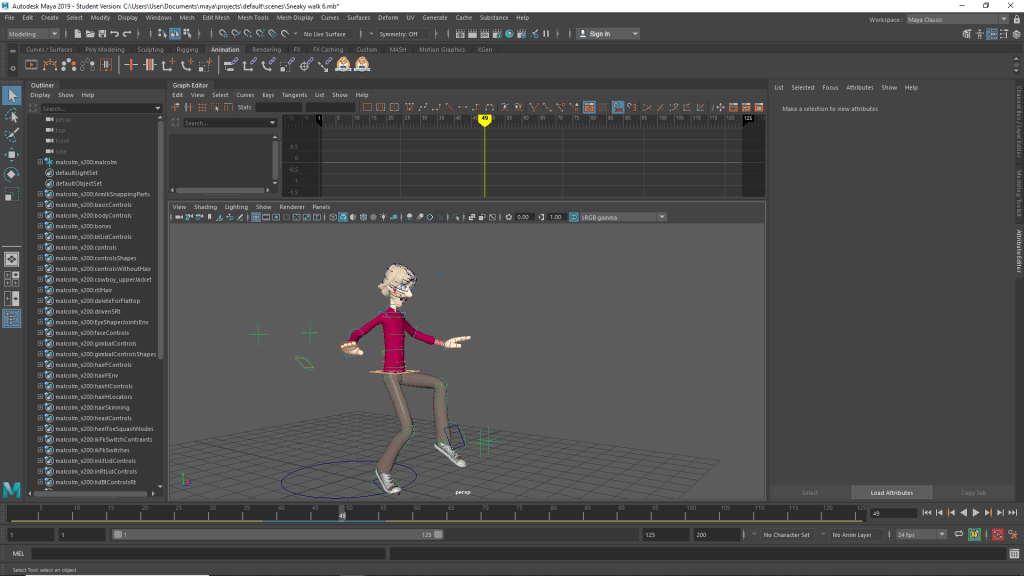
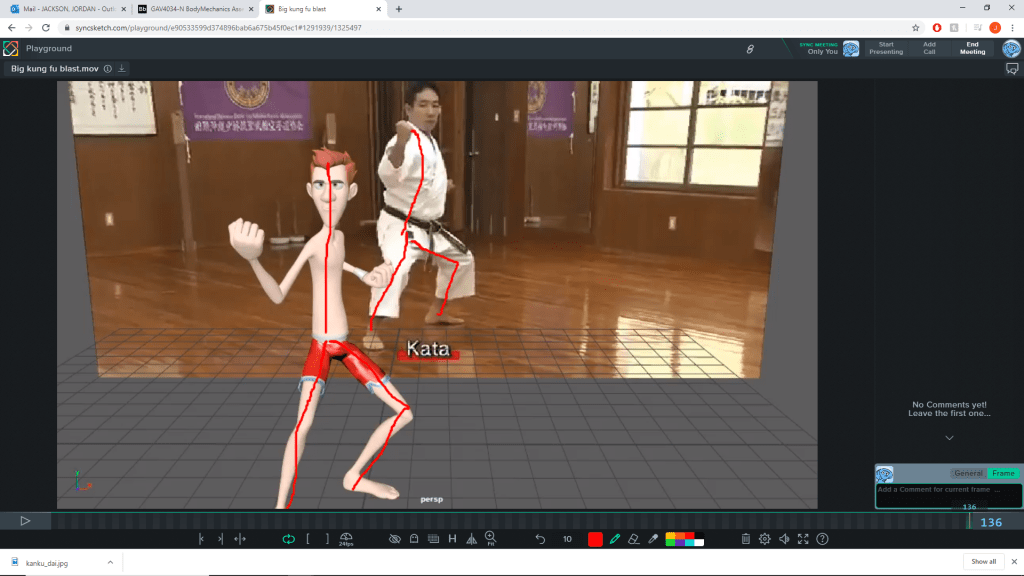
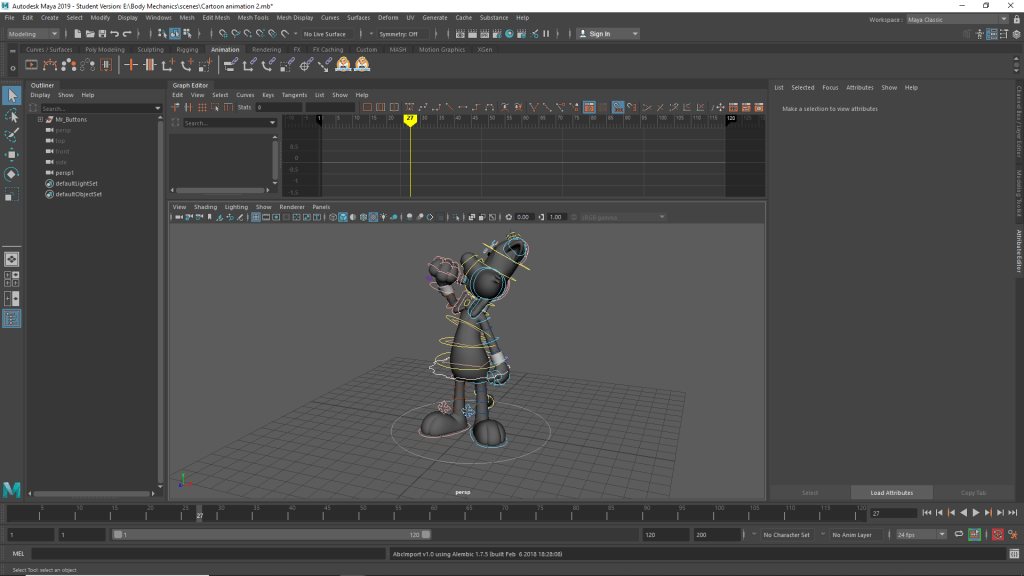
The clip was originally a full 20 seconds though I decided that due to time constraints I would reduce it to 10 and even that provided to be a lot. The block out phase was easy, the actors in the scene had very dynamic poses that were fun to use, however this would later be in an issue when it was time to take it into spline. The feet were the main issue, the character moved around the stage a lot, his feet constantly stepping back and forth, rotating sometimes on the ball of his foot sometimes on the heel. His hands would swap form pose to pose with very small and fast movements in-between. I tried to to put in a few in-between poses to capture the timing of these moves but struggled to capture his dynamic movements.

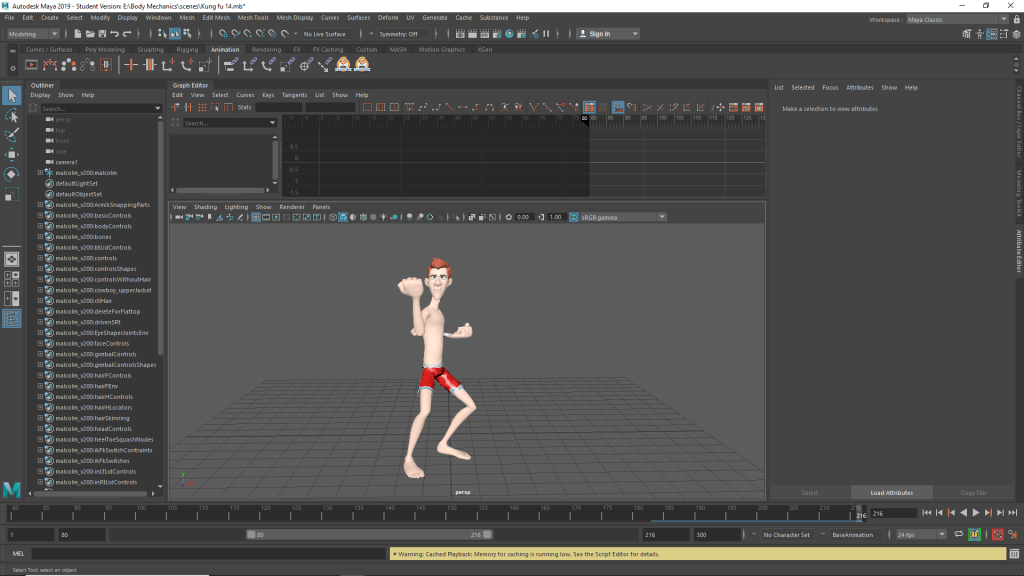
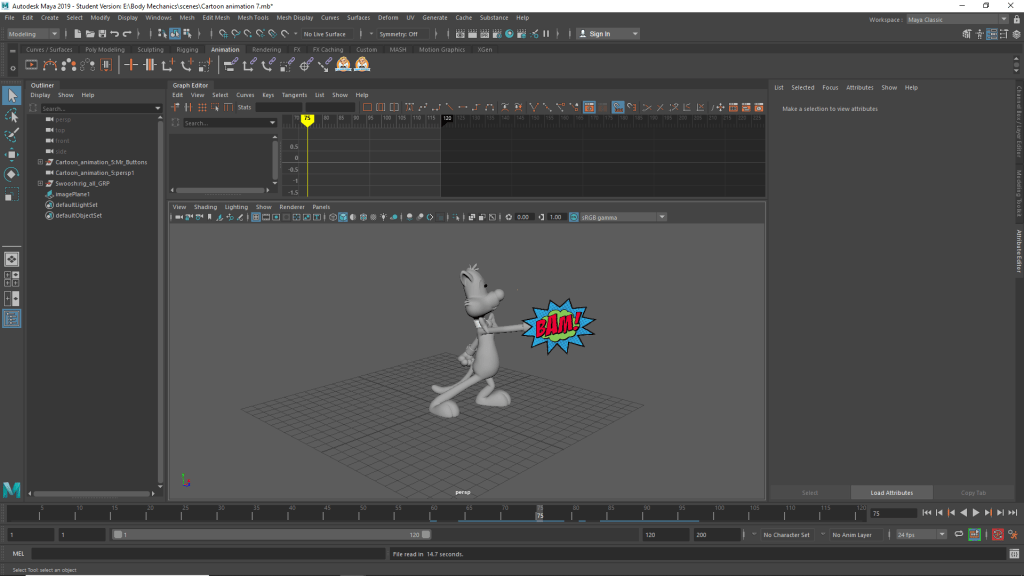
Once I had move from splining I decided to add an animation layer, as my animation proved to be quite stiff, the goal was to have him bouncing or swaying , most centrally around his hips and waist.

Reflection

Though I believe the animation to be finished I still think there’s a lot of room for improvement, however due to time constraints and being at home getting feedback on how to improve these things were difficult and whilst I wanted to improve them I wasn’t sure how or didn’t have the time to. Regardless the whole thing was a learning experience I think this was just something in which I bit of more than I could chew.

https://docs.google.com/presentation/d/1nPqG4CSEEXGxXvFpZSAnNvK7HWXicULYyW5Y_s5CQTE/edit?fbclid=IwAR3nOQgmqRwPHtA2hXwgOfQ99iI1O6O83NeABxkEFUCuh0lq_GwUY5SBoq0#slide=id.p

https://docs.google.com/presentation/d/1LoqH8teN7Hnl32Ppo2ZF830IRQ_us1trxCA_xnFakuE/edit?fbclid=IwAR30ZYjMnKphw9QxxTRS3AQFNrzl2zNikrgWO8nejY_0GJ6dmxeeFxhOC_s#slide=id.g76b1556c47_0_71

Acting is reacting

Planning

This piece was one a particularly struggled with at first, as I struggled to collect the reference footage. Originally the idea was that I would acting frightened or upset at being yelled at, however my acting talents were not up to snuff to pull this off convincingly. Instead with decided to take on a much more sarcastic route, with me instead finding the reason for being told off laughable.

Research

For research I had to look into facial expression and what they can portray in a short amount of time. I found an interesting article (linked below) in the article the author Shawn Kelly mentions that its important to see this face as one cohesive unit. What this means is that when creating emotions and faces, different parts of the face will affect other parts. For example when we smile, its important to close the eyes slightly as well, especially from the bottom in order to make it look natural.

How to get great expressions and animate faces – by Shawn Kelly

Development work

Even once I had the footage it proved difficult to animate. I was worried I would not be able to pull it off convincingly however after a few trial and error attempts I was able to make the animation rather exaggerated, making the character seem like more of a caricature of a person rather than how an actual person would react to this situation if they were indifferent to getting told off.

With an over the top smugness and adding actions that were not in the reference footage, eye and head rolls and dismissing arm movements I had hoped to show the progression of someone finding it humorous and then getting frustrated at the end as they’re backed in to a corner.

Reflection

At the beginning of this task I found it quite difficult at first and as a result, I put off doing i, however after working out my block out and camera angels and I found it much easier. I think I could’ve done more with the overall body language of the character, maybe positioned the camera to portray the character in more of position of power with a low angle shot etc.

https://docs.google.com/presentation/d/1D_SDOA4LSNKfE09Jue55Tzp8UC1oDHeB7sLrfnC0R5Q/edit?fbclid=IwAR2ngKid3HzG3COXO4QXXQIs2mEtjarK1xpAtO5OVFsUHzjNIUGw952OhO8

Animating with an object

Research Material

Whilst the research I did for this was quite minimal, I filmed my reference footage very early on and got to work fairly quickly. However as it was first task, I spent most of my research learning about Maya. I also learnt about creating projects and step animation.

However I was able to gather some insight whilst in our lectures, namely looking at the feedback that I got and the feedback that others in my class got.

Planning Work

I collected my reference very quickly, with the help of my friend who filmed me, I decided to animate a man painting a small figurine.

This reference was fairly easy to get collect, as it was a personal hobby of mine it was easy to lose myself in the role as it were.

Development work

I believe this may have been the piece I spent too much time on I was trying my best to get used to using Maya and once i had started this it was the piece I most comfortable with.

The feedback I’d received was very helpful, after restarting this animation 3 times the first time being due to not creating a project in Maya, a concept I’d never heard of before due to my inexperiance with the software. The second time was due to how I had placed the character. The reference footage shows myself say down, cross-legged and slouched forwards. I had not done this with the character, H had them sat up straight on a chair at a desk, and whilst the arm movements followed the reference the upper body did not.

After the third time I had him positioned correctly with a block out I was happy with. However, this would not be the first issues I had with the model and the reference footage. In retrospect it would have been better for me to go back and re-record my reference footage but I was falling behind on other animations in the course and decided instead to push on wards.

Refelection

Looking back, whilst I’m fairly happy with how this animation turned it is certainly the one I felt I spent far too much time on it. I should’ve used my time more effectively, however, I did learn a fair amount Maya and how it works and for that I’am grateful but I could’ve learnt that from my other modules also.

https://docs.google.com/presentation/d/1LoqH8teN7Hnl32Ppo2ZF830IRQ_us1trxCA_xnFakuE/edit?fbclid=IwAR30ZYjMnKphw9QxxTRS3AQFNrzl2zNikrgWO8nejY_0GJ6dmxeeFxhOC_s#slide=id.p

Locomotion

Planning

My idea going into this project was a piece about a man sneaking around in exaggerated almost cartoony, fashion. It was inspired by a walk cycle for goblins in World of Warcraft and looked like it would be fun to try and create something similar. However when I was unable to find good reference for it I took it upon myself to create some myself when my brother came to visit.

This image has an empty alt attribute; its file name is image-2.png

Research

As mentioned before, I was inspired by an animation from World of Warcraft as a result I had to look into what some good ways to exaggerate the walk were. Whilst my reference is of fairly exaggerated walk I wanted to develop on that.

Image result for sneaky walk poses
Great sneak poses by Richard Williams

I was able to find a few sources that helped me whilst planning my work, and whilst they weren’t perfect or exactly what I was looking for it did allow me to get some idea of what the method should be. The foot in-front of the body, leading it forwards when stepping forwards and then the body bending backwards when preparing to take another step.

Development work

Once I had blocked out my scene swapping from step to spline proved rather easy, with a few in-between frames here and there.

I originally struggled with thinking of a way of how I would end the animation as the scene required an additional action to meet the ICA. I was inspired by a video of another animation I saw on twitter of a character running away before being shot down by a sniper, whilst I cannot find the video now I used this as my main motivation for the characters end.

Finding any reference of a man being impaled by a flying spear proved to be quite difficult and so i had to improvise and animated it by eye using the memory of the video i found on twitter.

Reflection

I enjoyed doing this scene, whilst simple it was quite educational. Many of the walk cycles I had done in the past were either extremely basic ones done in 3ds Max or done through mo-cap. This gave me much more freedom and a way to get creative with an otherwise basic task.

I wish I had gone with some more creative though, especially for the ending, whilst at the time I was inspired by the idea of having an external object interacting with the scene I feel I could have gone further with it. Perhaps they struggle before they die, perhaps the spear misses them entirely, the character flinches and then runs away. Regardless, scope was something I was becoming more and more conscious of as the deadline drew near.

https://docs.google.com/presentation/d/1D_SDOA4LSNKfE09Jue55Tzp8UC1oDHeB7sLrfnC0R5Q/edit?fbclid=IwAR06d5Uy4qHYj7Qf3ez2KKQS24O5ERNsaQ38WF8mPw9LAjKTsV2S5Zhs4H0#slide=id.g7642078f15_0_5

Sport animation

Research Material

Looked at a variety of different reference material, whilst deciding on what scene i would like recreate with my animation. I looked at some MMA fights but decided that as it would most likely require two characters to look effective I would leave off that for now. Next I decided to look at some step by step martial arts diagrams

This helped me get an understanding of what might entail when it came to animating a kata. Whilst not as effective as copying real life footage for reference it allowed me to see the stances and key poses from different directions and see the motions that would be made when moving from stance to stance.

Planning work

When planning for this project I considered multiple sports that I thought could be interesting to do. Ultimately it came down to figuring skating and martial arts, what tipped it in the end was due to the experience I had prior with animating fight scenes and I wanted to improve on that.

I wanted to do a Kata in the end, the kind of discipline required to perform one is something I thought would be interesting to study and try to recreate with my animation.

The pre vis block out was easy enough to do, simply replicating the stances in the kata was simple, however it the weight and balance of the character moving from stance to stance that would be key to making this animation work well.

Development work

This was certainly the one I spent the most time on for this module I hadn’t considered how long it would take as I had thought it was a fairly simple scene. However there were a variety of quite subtlety movements that were underestimated. The way the martial artist shifts his weight around is a main one, getting that balance and discipline was something I tried hard to catch.

In an early test previz I found that my lines of action were quite different to the reference footage. The martial artist had his chest stuck out which was hard to see through his padded clothing and broad physique when I did the same on Malcolm it looked odd, due how much slimmer he was in build.

After blocking out the animation, the whole thing seemed rather easy though I would later find that Malcolm was not the best rig to use for this kind of animation. As mentioned before he was far too lanky and slender compared to the martial artist I was using as reference who was a lot more broad and built. This resulted in me having to make some edits to Malcolm, making his body wider and arms and legs thicker. Though it worked out in the end it did lead to me having to go back and edit certain keys as Malcolm was not clipping into himself.

In addition there were many parts of the animation in which the martial artist would move with such force his arms with get a form of whiplash. This was another part of the animation I struggled to capture, however after experiment with some layers I would able to get the desired result.

Reflection

After thinking it through I realized that I underestimated this task, whilst I spent most of my time on it I didn’t realize just how long it would take. Getting the weight and force behind each move proved more difficult than I expected and even now I’m not sure I got it how I wanted however it was very interesting to learn, it was my first time using animations layers too so it was nice to use this as an excuse to experiment with parts of Maya I’d previously not utilized.

https://docs.google.com/presentation/d/1LoqH8teN7Hnl32Ppo2ZF830IRQ_us1trxCA_xnFakuE/edit?fbclid=IwAR30ZYjMnKphw9QxxTRS3AQFNrzl2zNikrgWO8nejY_0GJ6dmxeeFxhOC_s#slide=id.p

Cartoony animation

Research

I did some research into cartoony animation whilst the 12 principles of animation apply here of course, there are also many of other principles and techniques that should be taken into account. I found these online and which were very useful for me moving forwards.

21 principles of animation
http://www.angryanimator.com/word/

Planning

This animation project proved to be much more difficult than I imagine. Whilst originally I was excited to produce this work there were a few technically difficult along the way that made it much more difficult than expected.

Originally I was going to go with a much more complicated scene with a tree falling on MR buttons and him slowing being squashed and deformed however due to how the amount of crashes and the fact many of the plugins for MR buttons weren’t working I decided on something simpler.

Development work

For whatever reason the Mr Buttons rig caused frequent crashes, and so could only work on him for 10-15 mins before he would randomly crash, weather it was due to me scrubbing the timeline or swapping from step to spline. Regardless, it was a good learning experience, the style was more fluid and would often use more than just rotating and moving around IK chains, it allowed me experiment with inflating a deflating certain parts of the character

I experimented with exaggeration, when Mr buttons winds back his punch it would seem rather unnatural as it looks dislocated. However, due to how Mr Buttons looks it worked quite well, it was also part of my reference footage with Jerry’s cousin winding back in exaggerated and unnatural way but it was a good way to show the power and momentum of the punch.

Image result for cartoony animation poses

This is the piece that I’m working with now. It’s much easier but allows me to experiment with the rig still. I went on to use woosh lines and image planes to have cartoony onomatopoeia appear in the scene as well.

Reflection

Looking back on this animation I wish I had experimented more, the action I decided to animate was a relatively safe one. I should’ve tried harder to try and get the plugins working as I went for a rather basic way of getting my cartoony animations like the inflated fist done. Regardless I enjoyed working with this rig despite the technical difficulties.

https://docs.google.com/presentation/d/1LoqH8teN7Hnl32Ppo2ZF830IRQ_us1trxCA_xnFakuE/edit?fbclid=IwAR3oH5y34x5smto_grWURueYCMnGkSki1MV5SDX8Sc4HZW24PtQvnhh_kWM#slide=id.p

Design a site like this with WordPress.com
Get started